Beginner Group Rides: Start with 20–40 km No Drop Rides on Coffeeride
· 12 min read
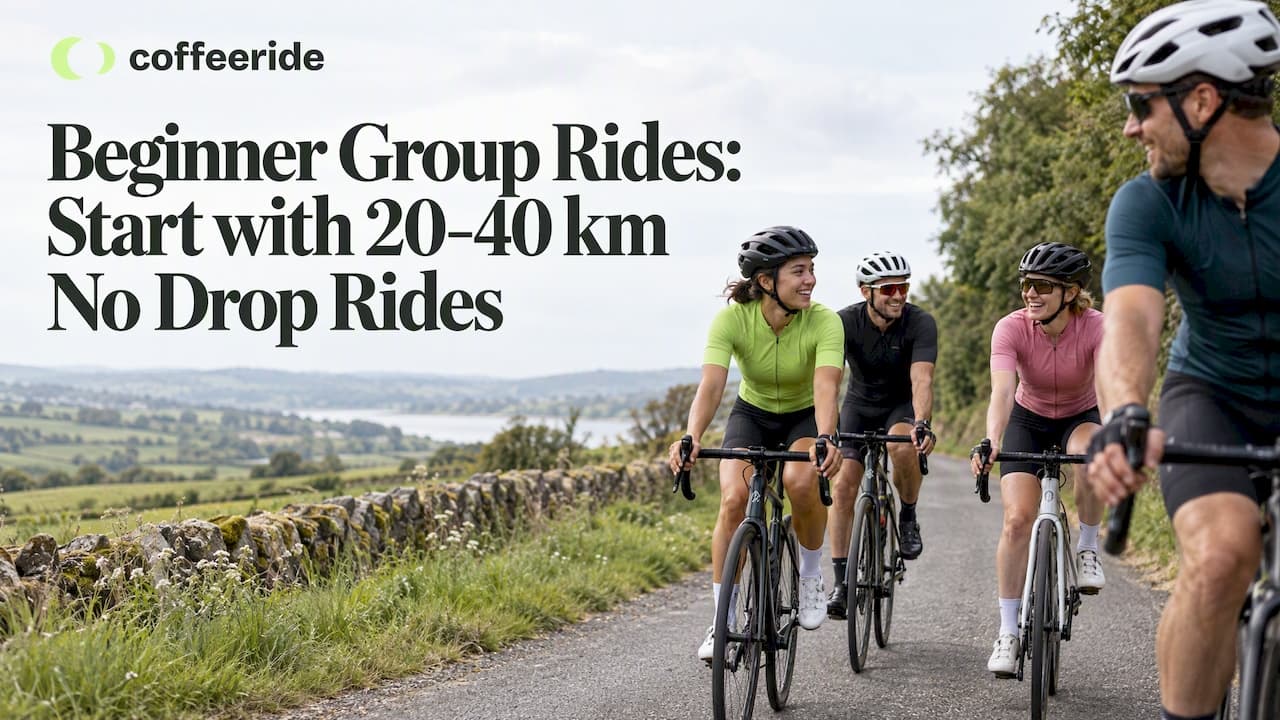
Yes, you can join and enjoy group rides as a beginner. Start with a no-drop, social-paced ride and tell the leader you’re new before you roll out. Your single next step: find a pace-matched beginner ride and RSVP, using a tool like Coffeeride to filter for no-drop and beginner-friendly tags near you.
TL;DR:
- Beginner social rides often cover 20 to 40 kilometers; mountain bike and gravel routes are usually shorter, while drop rides may leave slower riders behind.
- Before RSVPing, confirm the ride waits for everyone, check its distance and speed, and ask about regroup points if the listing is vague.
- During paceline rotations, take short turns at the front, then ease off and drift wide; accelerating forces the next rider to close a gap.
- If you get dropped, avoid sprinting after the pack; settle into a steady pace with a smaller group and head to the agreed regroup point.
- Arrive 10 to 15 minutes early, tell the ride leader you are new, and confirm the route and regroup plan before departure.
Table of Contents
- What to expect on your first beginner group ride
- Group ride etiquette and the signals you’ll hear
- Pacing rules that keep you in the group longer
- Finding the right beginner-friendly ride to join
- Your pre-ride checklist before you roll out
- Common beginner mistakes that cause crashes or awkward moments
- Coffeeride resources that make this easier
- What bike setup actually matters for your first group ride
- A short note on starting your first ride
- Find your first beginner ride on Coffeeride
- FAQ
What to expect on your first beginner group ride
Most beginner-friendly social rides cover short, conversational distances, often somewhere in the 20 to 40 kilometer range, with plenty of chatting and no one racing for the front. Beginner-friendly mountain bike or gravel options tend to run even shorter, since technical terrain slows everyone down naturally and keeps the group together.
A typical ride starts with a meet-up, usually 10 to 15 minutes before rolling, followed by a short leader briefing that lasts about three to five minutes. That briefing covers the route, any tricky turns or road hazards, where the group will regroup if it splits, and how calls get passed down the line. A short briefing like this removes most of the guesswork before you even clip in.
Listings generally fall into three types, and learning to spot them saves you from showing up unprepared. Social or no-drop rides promise the group waits for everyone, pace-group rides sort riders by speed but still regroup regularly, and club “drop” rides assume everyone can hold the pace and won’t wait if you fall behind. Read the listing title and description closely: words like “no-drop,” “social,” or “all levels welcome” signal a beginner-safe ride, while “fast,” “hammerfest,” or a specific high average speed signal the opposite. When a listing is vague, message the organizer before you commit.

Group ride etiquette and the signals you’ll hear
Every group ride runs on a shared language of hand signals and vocal calls, and knowing them before you show up means you’ll fit in from the first pedal stroke. The basics: an extended arm points the direction of an upcoming turn, a hand moved down and back behind your hip signals slowing or stopping, and a flat palm pushed downward means ease off gently.
Vocal calls matter just as much, especially in a pack where not everyone can see the front. Common calls include “car up” for oncoming traffic, “hole” or “gravel” for road hazards, “stopping” when the group is slowing suddenly, and “on your left” or “on your right” when passing. The habit worth building early is calling hazards about three seconds before you reach them, giving riders behind you enough time to react.
- Keep a straight, predictable line. Sudden swerves are the fastest way to cause a crash behind you.
- Hold a steady speed rather than surging and braking.
- Rotate smoothly when it’s your turn at the front instead of jumping in or out.
- Save eating, drinking, or adjusting gear for when you’re at the back of the group.
- Pass calls down the line in short, consistent words so they reach the back intact.
Pro Tip: Practice the hand signals and calls out loud once before your first ride. It feels silly alone in your kitchen, but it means you won’t freeze up when the group needs you to pass a call.
Pacing rules that keep you in the group longer
Riding at your limit the entire time is why so many beginners blow up halfway through their first group ride.
Paceline riding adds a layer most newcomers haven’t practiced: taking a turn at the front without wrecking the group’s rhythm. The safe technique is to ease off slightly and move outward when your pull ends, never to accelerate. Accelerating at the front creates a gap that the rider behind you has to close, which burns energy they didn’t plan to spend.
- Take short pulls at the front, especially early on, and rotate out before you’re tired.
- Ease off and drift wide when it’s time to pull off, rather than sprinting away.
- If you feel yourself fading, move toward the back of the group rather than fighting for position.
- Communicate early: a quiet “I need a minute” to the rider beside you beats silently falling off the back.
If you do get dropped, don’t panic and don’t chase at full effort. Tuck into whatever smaller group forms around you, ride at a steady pace instead of sprinting to close the gap, and head for the pre-agreed regroup point. Most no-drop rides build these regroup stops in specifically so no one gets left behind.
Finding the right beginner-friendly ride to join
A handful of channels consistently turn up beginner-appropriate rides: local bike shop notice boards, club websites, community cycling forums, and dedicated discovery platforms built for matching riders by pace and interest, including bergme’s ski touring basics for beginners for those interested in exploring mountain sports beyond cycling. Each tends to attract a different crowd, so it’s worth checking more than one before you commit to your first outing.
When you’re scanning a listing, a few details tell you almost everything you need to know:
- Look for the words “no-drop” or “social” directly in the title or description.
- Check the advertised distance and average speed against what feels comfortable for you right now.
- Confirm there’s a named leader or contact listed, not just an anonymous event.
- See whether the ride has an RSVP field, since rides with clear RSVP fields tend to draw more organized, beginner-aware turnout.
If any of that is missing, message the organizer directly. Three questions cover almost everything: “Is this no-drop?”, “What’s the average speed?”, and “Will there be regroup points along the way?” A responsive organizer who answers clearly is usually a good sign for the ride itself.
Your pre-ride checklist before you roll out
A few minutes of prep on the morning of your ride prevents most of the problems that leave beginners stranded or embarrassed. Running through a simple pre-ride checklist takes less time than finding a parking spot.
- Check your tires are properly inflated, your brakes grip cleanly, and your chain is lubed.
- Pack a spare tube or patch kit along with a pump or CO2 cartridge.
- Bring your helmet, ID, phone, water, and a snack, plus a layer for changing weather.
- Arrive 10 to 15 minutes early to meet the leader and introduce yourself as new to the group.
- Confirm the route and regroup plan verbally before you leave the parking lot.
Common beginner mistakes that cause crashes or awkward moments
Most group ride incidents trace back to a handful of avoidable habits, and fixing them is mostly about building new reflexes rather than getting fitter.
- Swerving or braking suddenly mid-pack puts everyone behind you at risk; hold your line and only change speed or direction once you’ve moved to the back and can see clearly.
- Accelerating when you reach the front during a rotation is the single most common rotation mistake, since it opens a gap the next rider has to close.
- Reaching for a bottle, phone, or food wrapper while boxed in the middle of the group is asking for trouble; wait until you’ve rotated back.
- Relying only on hand signals on crowded or rough roads is risky, since riders further back often can’t see them; default to a vocal call instead.
- If you or someone near you crashes or has a mechanical issue, signal clearly, pull off the road safely, and head to the agreed regroup point rather than stopping in the road.
Pro Tip: When in doubt between a hand signal and a shout, shout. A missed vocal call travels down the line fast and costs you nothing; a missed hand signal can cost someone their front wheel.
Coffeeride resources that make this easier
We built a handful of practical guides specifically for riders working through their first few group outings, and they pair well with everything above.
- Our club ride rules roundup walks through what leaders and riders are expected to know before rolling out.
- Our ride leader briefing template gives organizers (and curious riders) a copy-paste three to five minute script.
- Our MTB no-drop crew finder guide points off-road beginners toward slower, friendlier local groups.
- Our drop ride field guide explains the listing details that prevent surprises on faster club rides.
When you post or browse a ride, use RSVP fields to label pace, mark the ride no-drop or women-only where relevant, and message the leader ahead of time to confirm it’s a good fit for where you are right now.
What bike setup actually matters for your first group ride
You don’t need a new bike to show up to a beginner ride, but a few setup details make the day smoother. Tire pressure matched to your weight and the road or trail surface affects both comfort and rolling resistance, so check it rather than guessing. A saddle height that’s slightly off won’t stop you from finishing a social ride, but it will leave your knees sore afterward, so a quick fit check before your first outing pays off.

A second bottle cage and a small saddle bag for a spare tube, tire levers, and a multi-tool matter more in a group than riding solo, since stopping the whole pack for a fixable mechanical is avoidable with basic supplies on hand. If you’re riding an e-bike, check the listing or message the organizer first, since not every group ride accommodates mixed e-bike and standard bike paces, though dedicated e-bike group rides are increasingly common. Clip-in pedals aren’t required for your first ride, and plenty of beginners start on flat pedals with sneakers while they build confidence handling the bike in a pack before adding that variable.
A short note on starting your first ride
We’ve watched plenty of nervous first-timers show up to a group ride and leave already planning the next one. Beginners are welcome everywhere worth riding with, and the riders who seem effortless now all started exactly where you are.
Grab the checklist above, pick a no-drop ride, and go. Confidence builds one ride at a time, not in a single afternoon.
— Coffeeride
Find your first beginner ride on Coffeeride
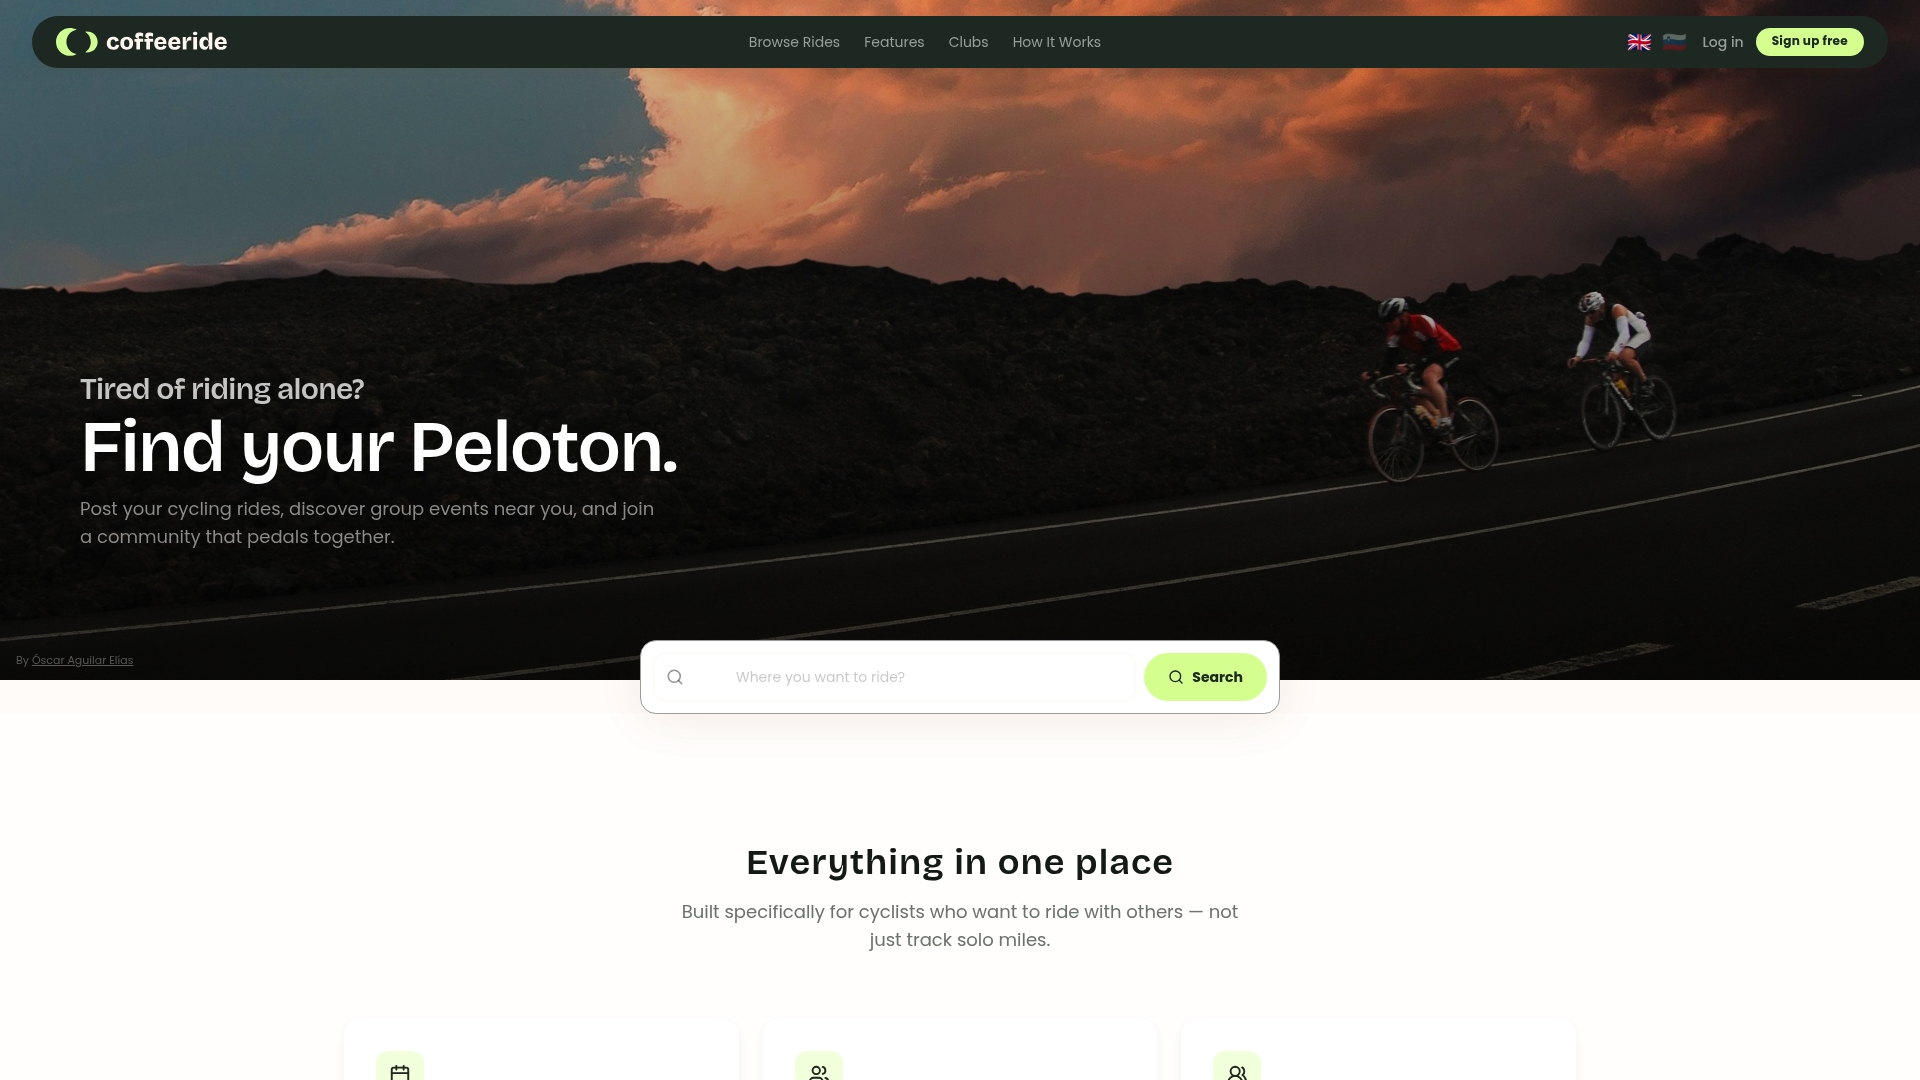
The platform was built around the idea that a bike ride is better with company, and finding the right company shouldn’t take more effort than the ride itself. Filter by pace, distance, and discipline, RSVP as needed, and look for no-drop or women-only tags when those fit what you need.
| What you get | Detail |
|---|---|
| Pace filters | Find rides matched to your comfort level, not just any ride nearby |
| RSVP fields | Confirm attendance and see who else is riding before you show up |
| No-drop and women-only tags | Spot beginner-friendly and inclusive rides at a glance |
| Cost | Free to use |
- Browse local rides tagged no-drop or social before you commit to a faster group.
- Message the ride leader directly through the app if you have questions beforehand.
- Join a club once you find a crew whose pace and personality fit yours.
Ready to find your crew? Open Coffeeride Club and RSVP to your first beginner-friendly ride this week.
FAQ
What is the 75% rule in cycling?
It’s a practical way for beginners to avoid burning out halfway through a ride.
What is a good starting cycling program for beginners?
A solid starting point is joining short, no-drop social rides once or twice a week, building distance and pace gradually as your comfort grows. Pairing that with a pre-ride checklist and basic etiquette knowledge, rather than a strict training plan, helps most beginners build confidence faster than structured workouts alone.
How do I do a group ride as a beginner?
RSVP to a ride clearly labeled no-drop or social, arrive 10 to 15 minutes early, and introduce yourself to the leader as new.
What is the 80% rule in cycling?
Reserving that extra 20% lets you handle short efforts like hills or paceline rotations without falling off the back.
What should I do if I get dropped from a group ride?
Stay calm, avoid sprinting to close the gap, and settle into a steady pace with whichever smaller group forms around you. Head toward the pre-agreed regroup point, since most no-drop and social rides build these stops in specifically so no rider gets left behind.